

GTA VI / GUIDEDISTRICT
Trailers and screenshots
On this page
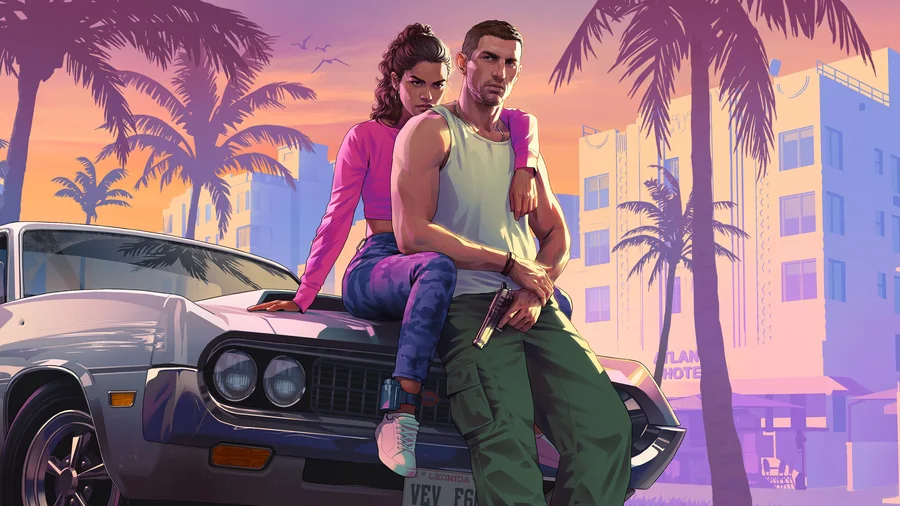
Official videos and screenshots are a good way to get familiar with GTA 6’s people and places. Start from Rockstar’s own media pages so you know which version you are watching. A useful breakdown explains what is visible, then clearly separates that observation from a theory.
Choose what you want to learn
The official site brings together Trailer 1, Trailer 2, An Extended Look and the Launch Trailer. For a first introduction, watch a complete video before jumping into isolated frames. For one particular detail, return to the original footage rather than relying only on a repost.
Keep the character directory and region guides nearby if names are unfamiliar. Those pages give you a place to follow a connection without turning every short scene into a separate theory.
Describe the frame before interpreting it
A helpful note says which video you used, its timestamp and what can actually be seen. For example, distinguish a vehicle parked outside a building from a scene showing someone buying that vehicle. The first image does not establish the purchase system.
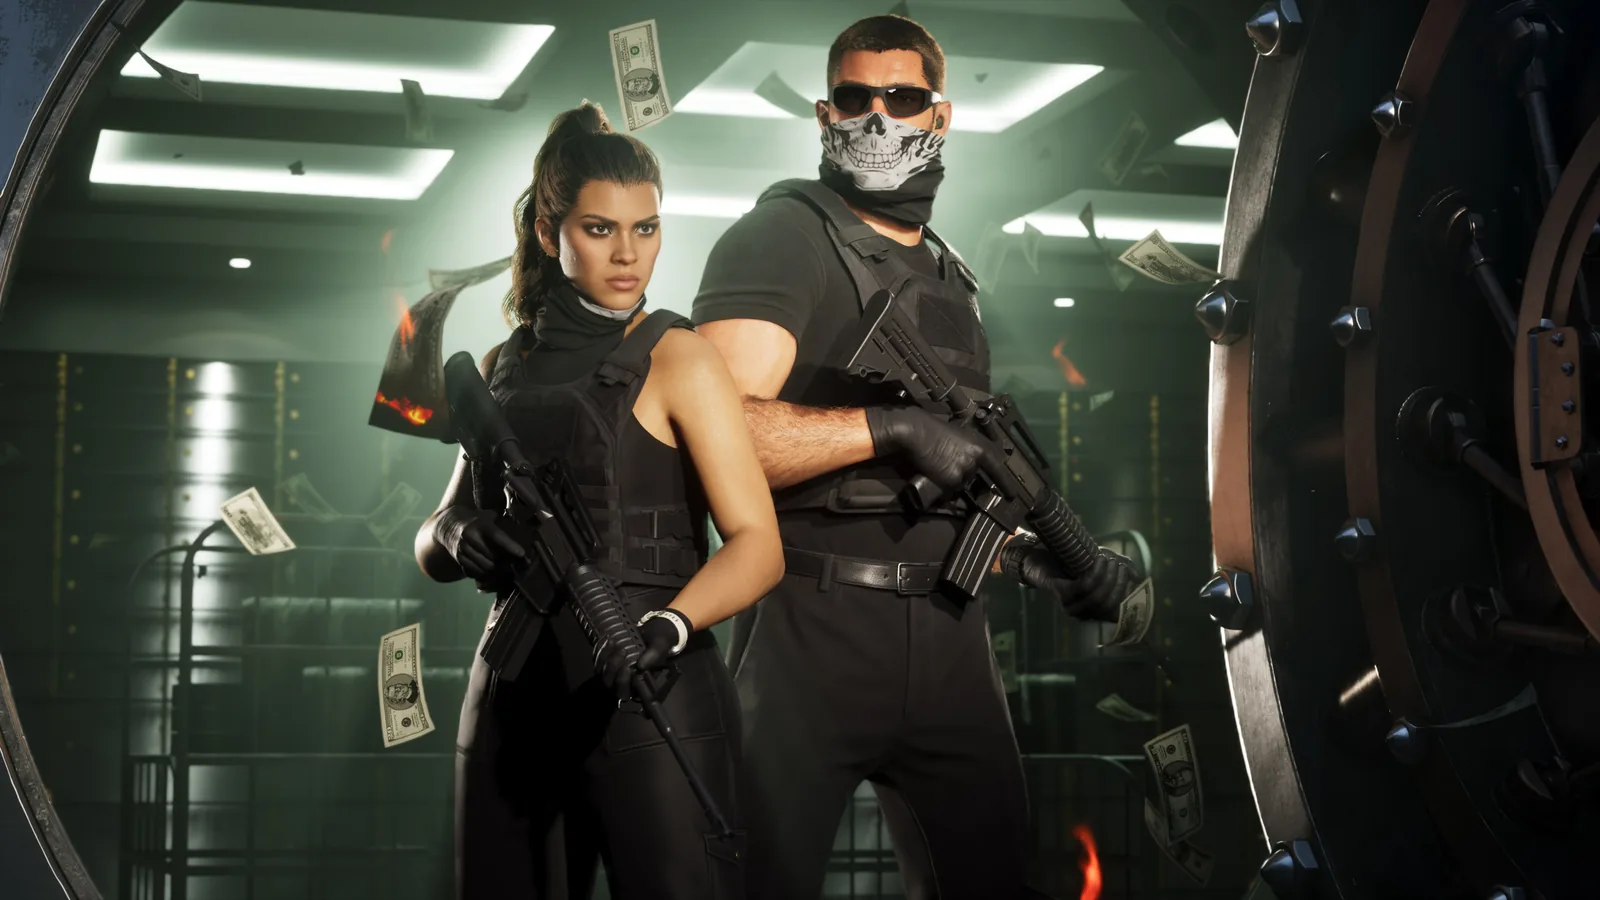
A montage may put scenes next to one another even when they happen at different times or places. Avoid assigning a mission order from editing alone. Clothing, weather or a familiar face can help compare shots, but each observation still needs its own context.
Use screenshots for places and details
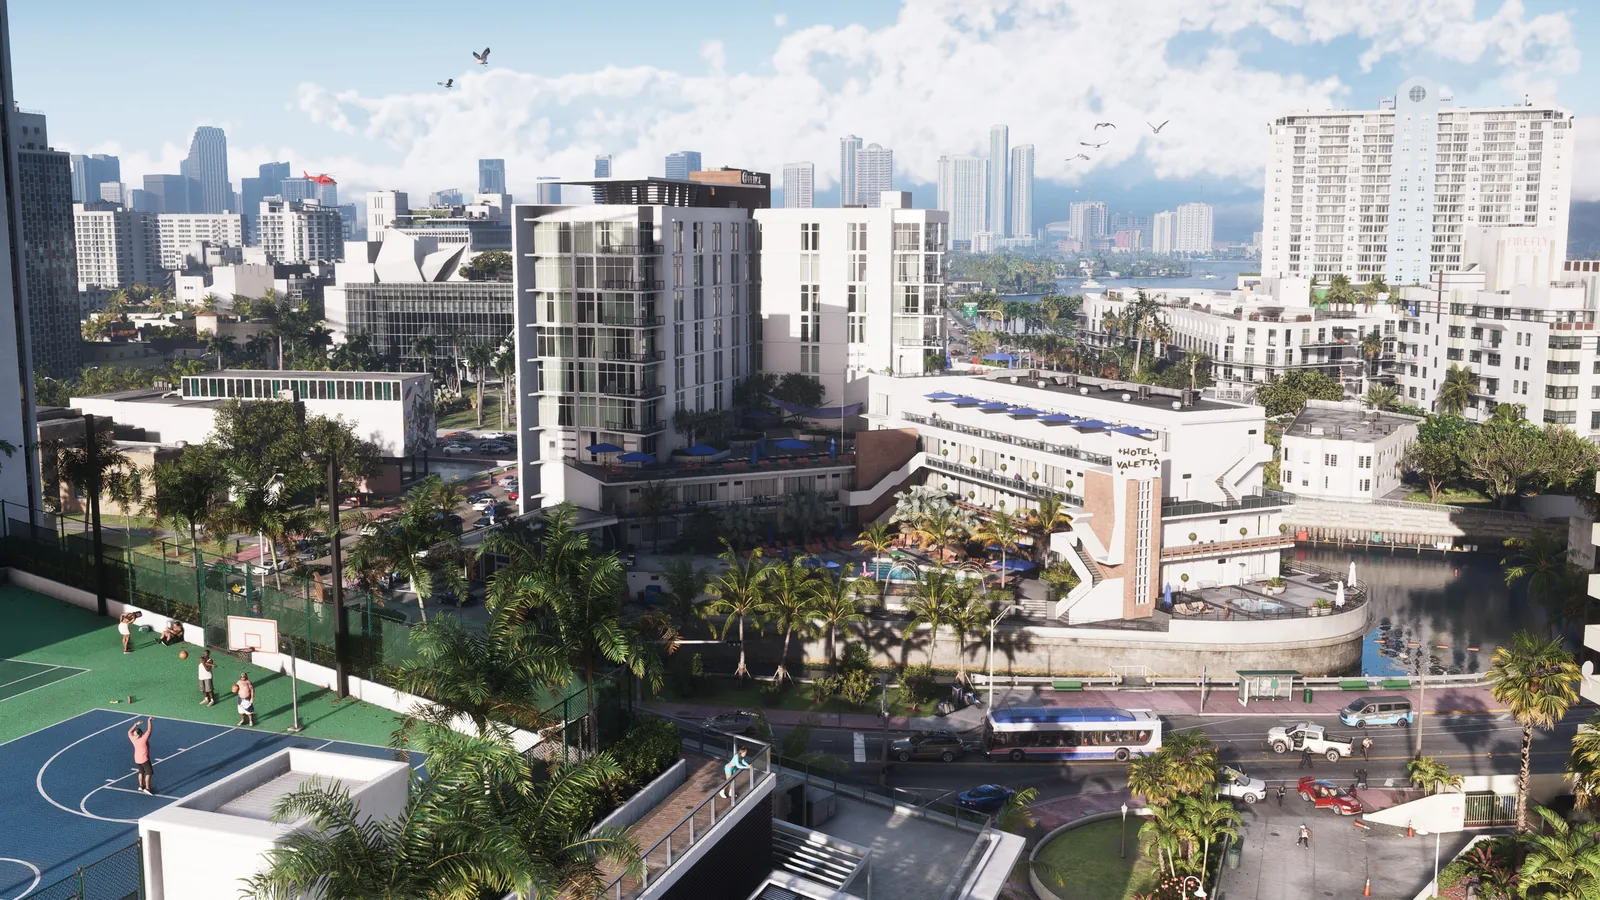
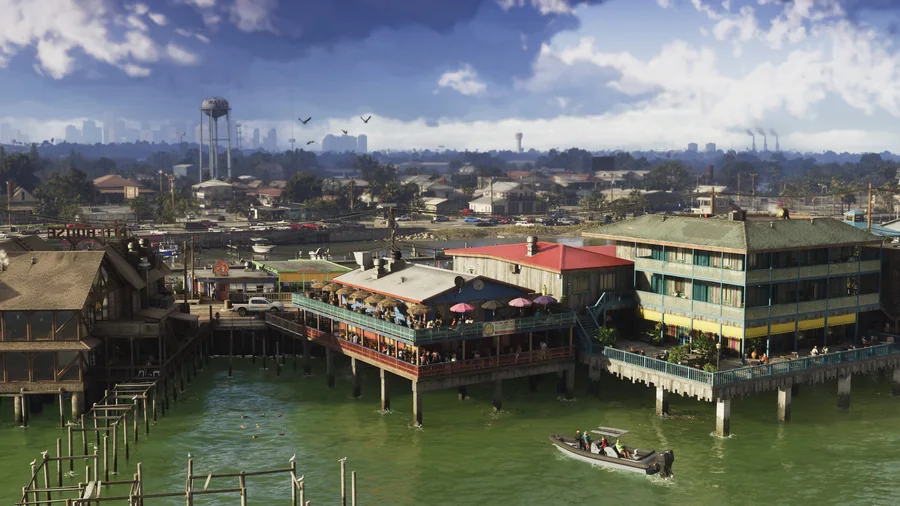
Screenshots make it easier to inspect a sign, a skyline or a building. Check the original image before trusting a crop with an added label. If a community researcher proposes a map location, keep that attribution and read how our map handles estimates.
Images on GuideDistrict should explain a nearby paragraph, not act as proof of an unrelated secret or reward. When an identification remains uncertain, save the original reference and revisit it after clearer official material or a verified in-game observation becomes available.
Sources
Useful next steps
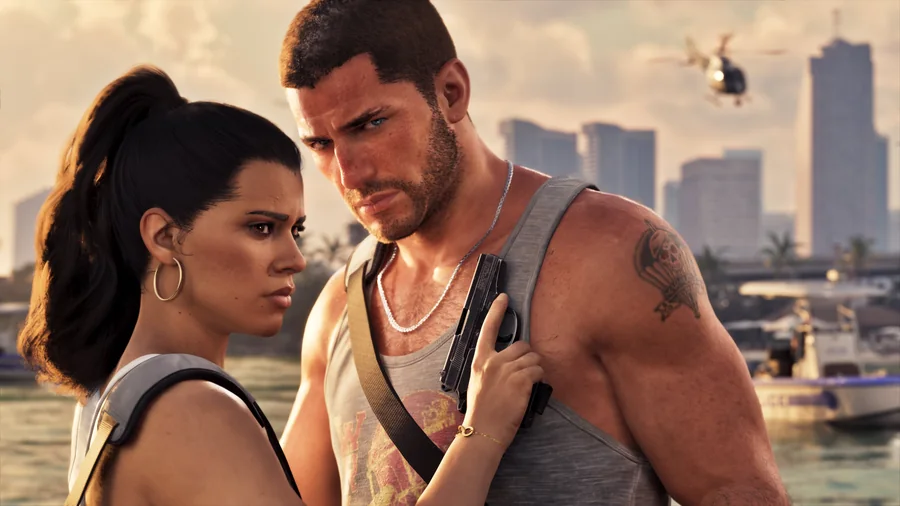
GTA 6 characters: Jason, Lucia, their circle in the Keys, Only Raw Records and Raul Bautista, based on Rockstar’s introductions.
Understand Leonida through its regions, official images and the community map, with a clear distinction between scenery and verified locations.
Meet Brian Heder, Cal Hampton, Boobie Ike, Dre’Quan Priest, Real Dimez and Raul Bautista, and see how their announced connections fit together.
Understand the 2,139 community entries, proposed names, uncertainty flags and the difference between a map marker and verified gameplay.